
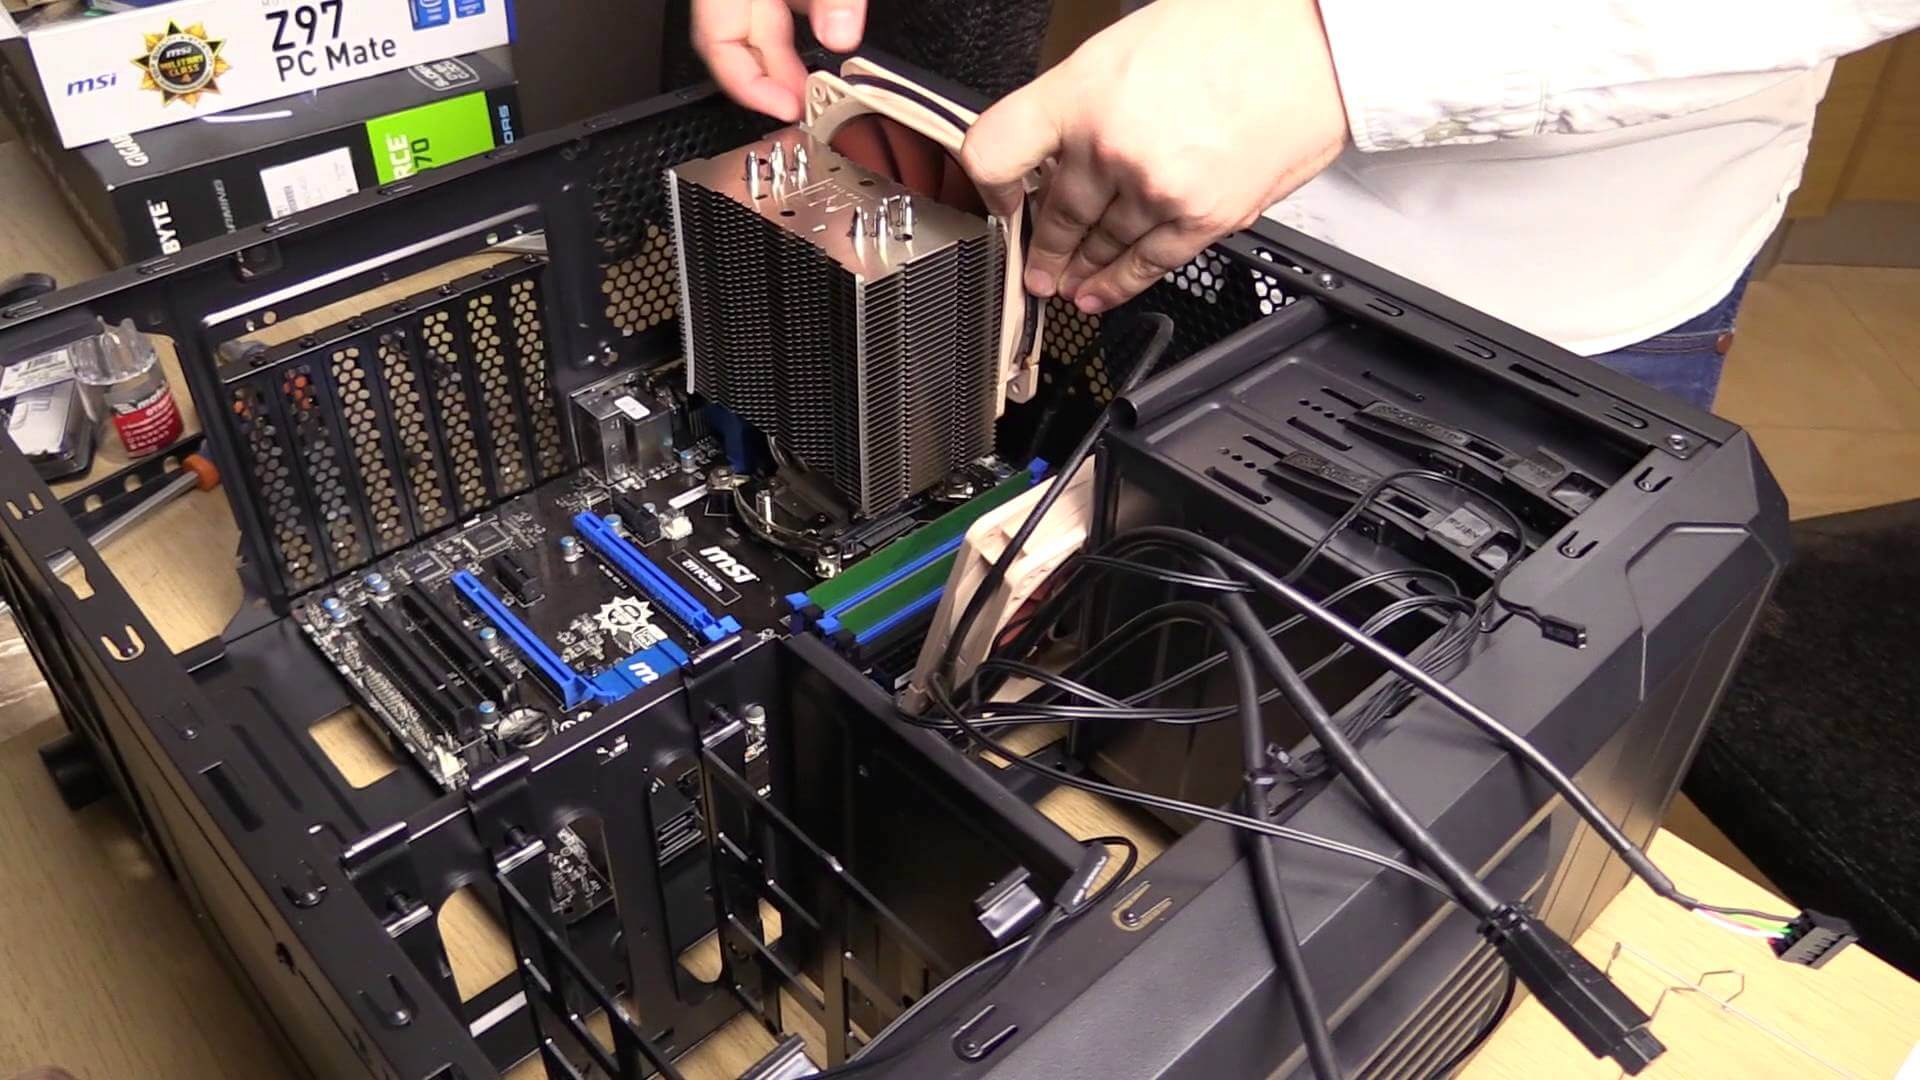
Assembling a PC Tower Yourself: Step-by-Step Guide
Building your own PC might sound intimidating, but with the right approach and attention to detail, you can assemble a powerful and reliable computer by yourself.
🔧 1. Preparation
Start by defining your goal — is the PC for office work, gaming, or creative projects? This determines your choice of CPU, motherboard, RAM, graphics card, SSD/HDD, power supply, and case.
⚙️ 2. Installing the Processor
Carefully place the CPU into the motherboard socket following the alignment marks. Apply a small amount of thermal paste, then attach the cooler.
💾 3. Installing Memory and Storage
Insert your RAM modules into the DIMM slots until they click in place. Mount your SSD or HDD in the designated drive bays of your case.
⚡ 4. Connecting Power
Connect the 24-pin main power cable to the motherboard, 8-pin power to the CPU, and GPU power if required. Keep your cables tidy for better airflow and appearance.
🖥️ 5. Graphics Card and Testing
Install the graphics card into the PCI-E slot, connect your monitor, keyboard, and mouse, then power on the system. Ensure everything boots up correctly before installing your operating system and drivers.
Building a PC is not just a hands-on experience — it’s a way to save money and get a system that perfectly fits your needs.
Need help with setup, diagnostics, or home tech installation? Visit AP-MAP — fast, reliable, and professional service you can trust.